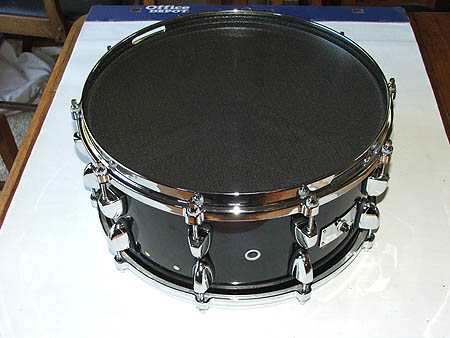
I’ve been looking at expanding my electronic trap set. The bulk of it suits me well but I’ve always been frustrated by the snare pad. There is just something not right about smacking a 6 inch rubber pad for the snare.
Roland has a nice line of mesh head electronic drums with their V-Drum line. The top of the line at the moment is the 10 inch PD-125SX dual trigger pad – which costs a whopping $429. It’s a nice trigger but I don’t need the dual zone. it’s also only 10 inches. I’d rather have a full side snare of 12 or 14 inches.
So let’s build one.
Considering I don’t need anything special for a drum shell, I scoured Craigslist for an old snare drum. I found a couple but nothing as cheap as a brand new Sonar snare for $40.
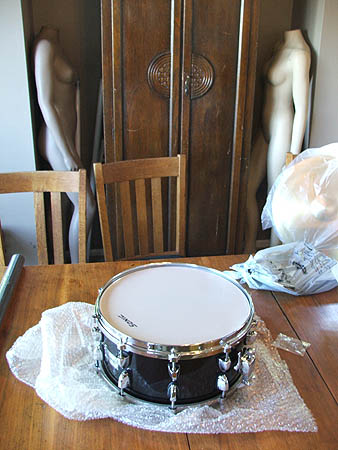
The other things I’ll need are;
1.) Snare stand – about $50
2.) One Piezoelectric 35 mm element – 65 cents at the local electronic shop.
3.) A bit of wire and shrink tube – a buck or two.
4.) One 1/4 inch mono phone jack – $1
5.) 3 metal “L” mounts – $1 each
6.) Some foam. I used the ridged foam from a sanding block – $1.29
7.) Fibreglass screen door mesh – $10
8.) Double sided tape – About $3-4
9.) A 5/16th carriage bolt, a few nuts and washers – $5
10.) 3mm beading wire (found in the arts/crafts section of a store) – $2
Let’s try and put this thing together.
The Drum Shell
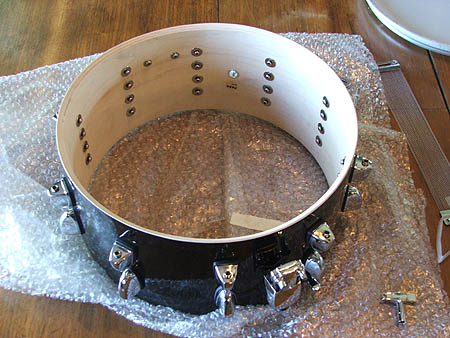
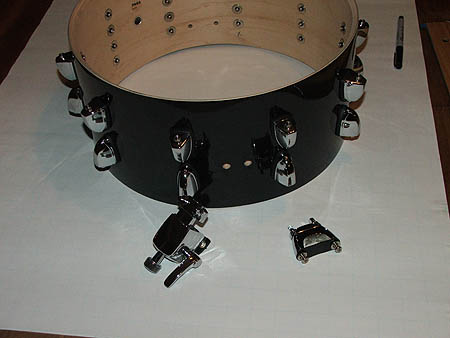
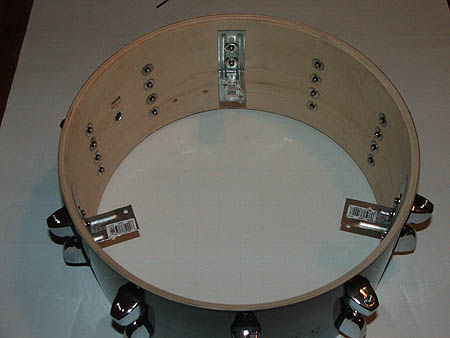
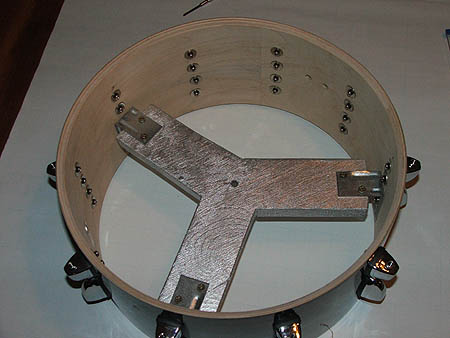
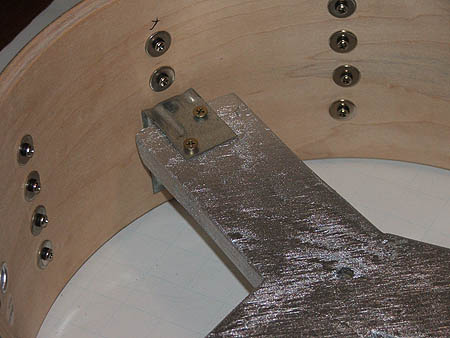
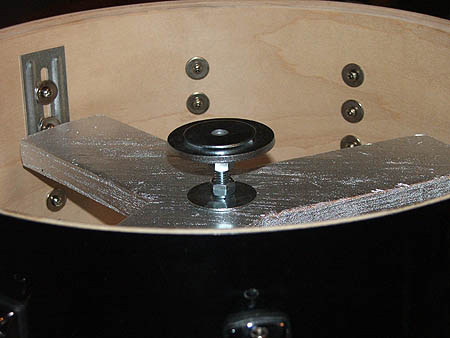
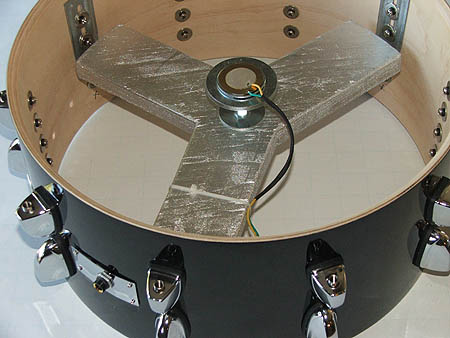
The idea is to mount the Piezoelectric element under the centre of the drum skin (which I’ll do with the carriage bolt and washers). I’ll need to cut a piece of wood to mount this on. I set the drum shell on a piece of paper and figured out where I want to put my “L” brackets. I traced around the whole thing.
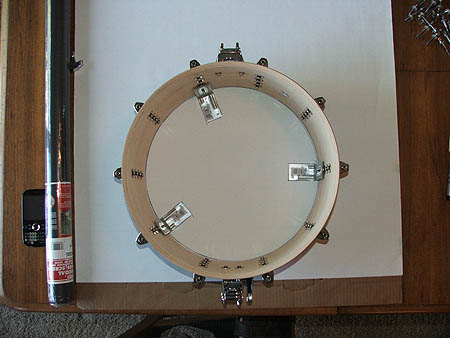
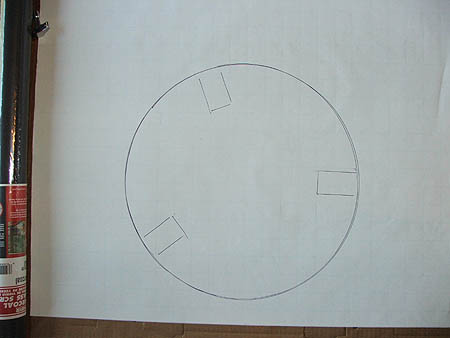
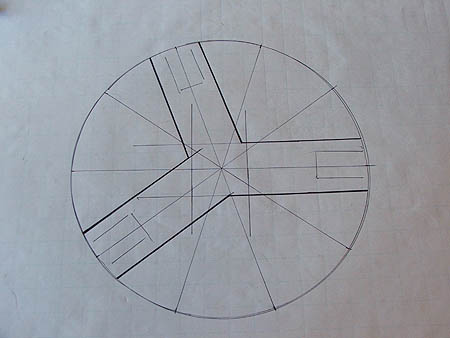
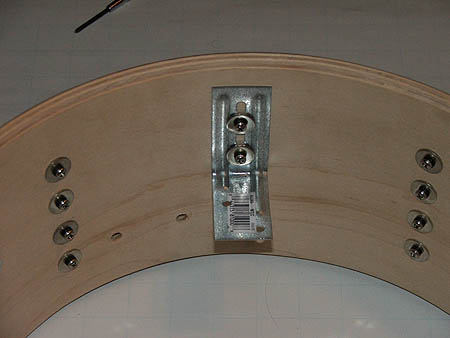
To make things easy I’m going to use the lug mount screws to hold my “L” brackets. no need to drill extra holes or use other screws.
The Electronic Bits
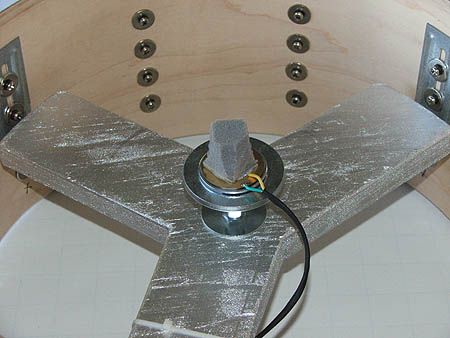
The electronics are really quite simple. One piezo is wired directly to a phono jack. The piezo acts as the trigger. You can not mount the piezo directly to the drum skin or it would be damaged. A bit of foam is placed between the piezo and the skin to transfer the energy of the drumstick hitting the skin to the piezo.
Looking on-line I found several people using different products to transfer the energy. Several people mention using the foam found in sanding blocks. On my trip to the hardware store I looked at various foam products that could be used (pipe insulation, ridged insulation, etc) and the sanding block foam seemed to be a fairly good and cheap choice. I decided to give it a shot.
My I wired up my piezo to a standard 1/4 mono phono jack. I added a bit of heat shrink tubing to keep things tidy.
I didn’t think it would matter which way the piezo was wired so I tested it both ways.. it didn’t seem to matter.
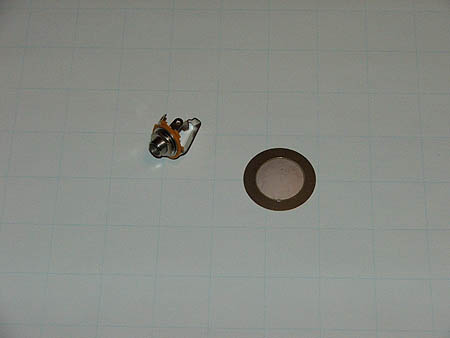
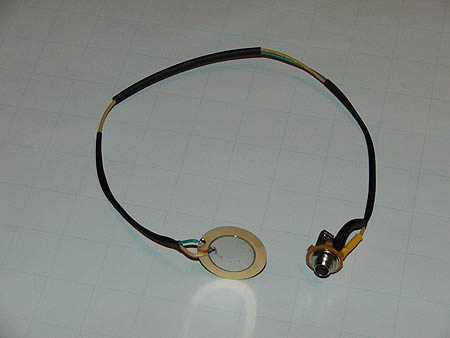
I’m going to need a place to mount my phono plug. My first thought was the air vent already in place on the snare drum. The drum shell was too thick for my phono plug to poke through and fasten the nut in place. What I needed was a nice faceplate.
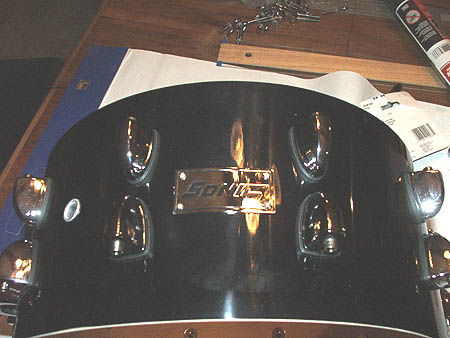
I unscrewed the faceplate, flipped it over, and bent it so it curved with the drum. I drilled a hole under where the faceplate would sit and drilled another hole in the faceplate for the phono plug. Due to the thickness of the drum shell and the size of the faceplate, I swapped out my instrument standard phono plug for another style which wasn’t quite as wide. It fit perfectly.
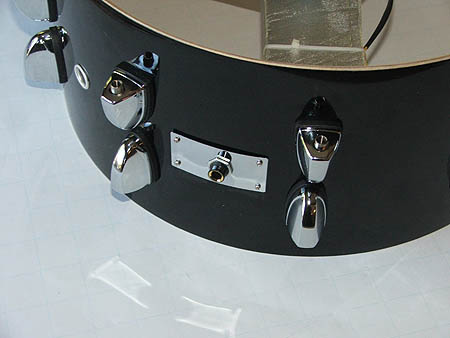
Now it is time to mount the piezo and foam. I cut the sand paper bits off the foam and cut a block about one inch square. I tapered it a little so it was smaller at the top. I adjusted the piezo mount so the foam block was just over the rim horizon. Then everything got mounted with double-sided tape.
Building the mesh skin and putting it back together
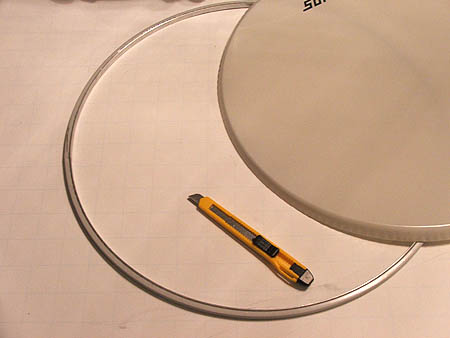
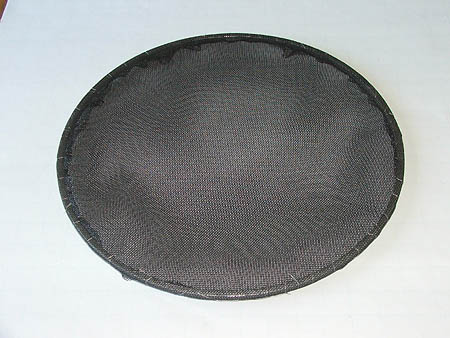
I’m going to use several layers of fibreglass screen mesh for my drum skin. Two layers will be sewn to a ring and two layers will be held in place over that with the hoop.
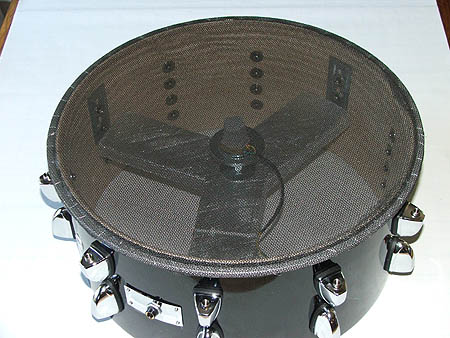
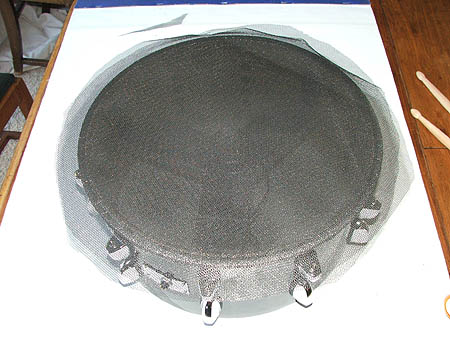

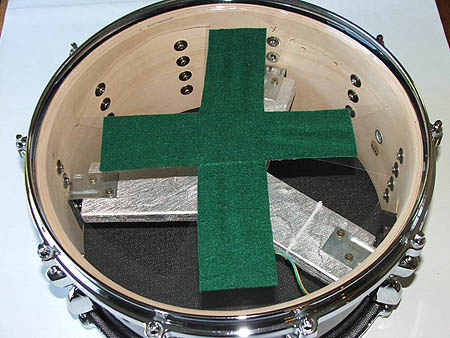
And that’s all there is to that…
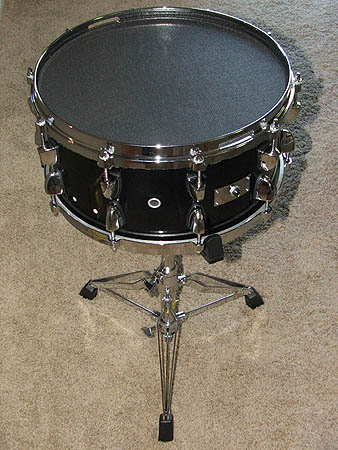
I did a bounce test (dropping a drum stick on the skin) comparing this drum to my regular snare drum. The bounce back is pretty much the same.
I hooked this pad up to my Roland TD-5 and it worked well. I had to up the sensitivity just a little but it plays perfectly.
Just seen your breakdown of how you put your trigger snare together – really helpful as I am looking to do something similar due to the price of the essentially same thing from Roland etc…
Great stuff – cheers!